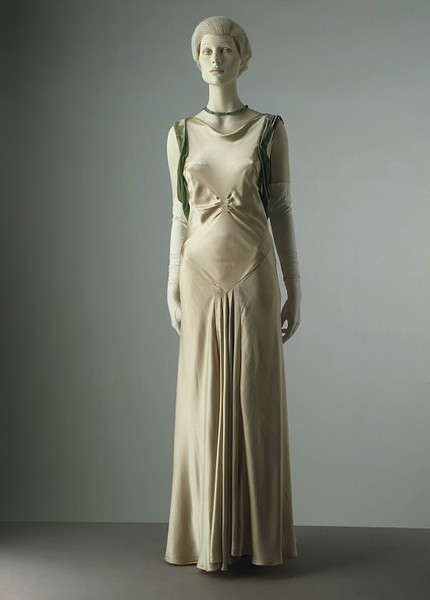
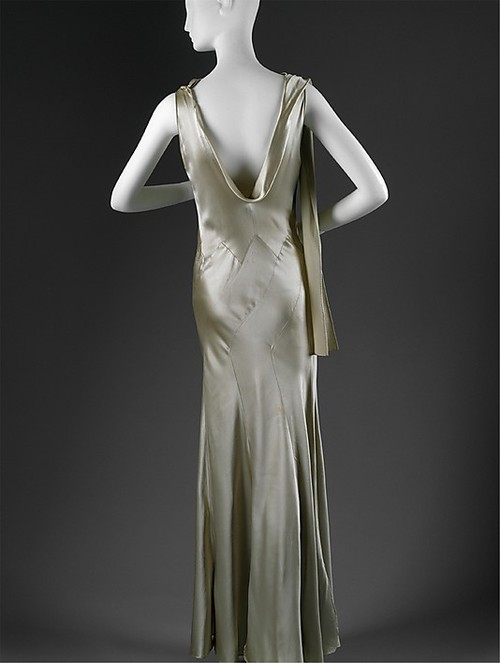
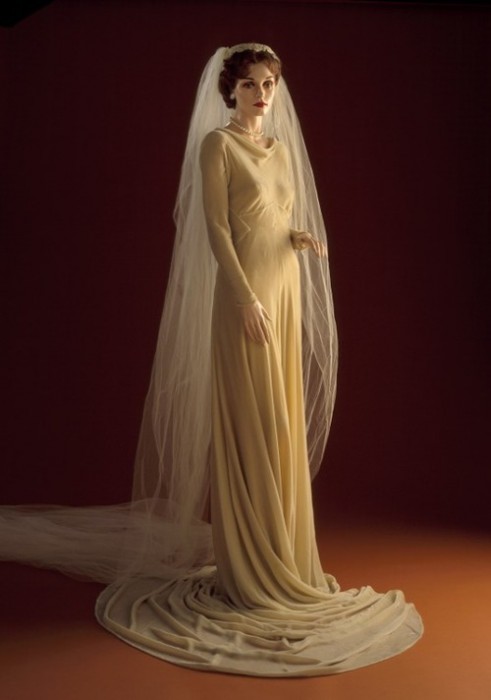
I can’t believe it’s been nearly a year since I first started thinking about this project. A friend and theatre colleague was getting hitched to her long term sweetheart and she needed a dress. She tried to find one the usual way – going from bridal shop to bridal shop with family members, but didn’t find the ‘shazam!’ dress of her dreams. This lady deserved her dream dress, so I offered to help! Knowing her taste and style, along with some thoughts from the bride to be, I drew up 3 different designs inspired by the 1930s. Some inspiration pics:
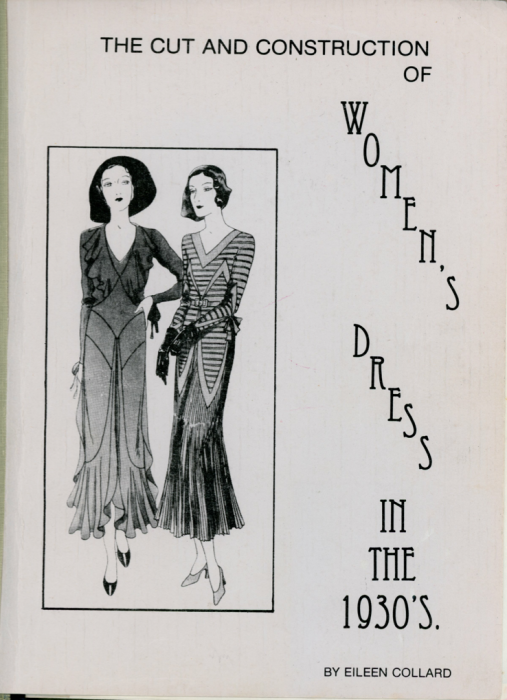
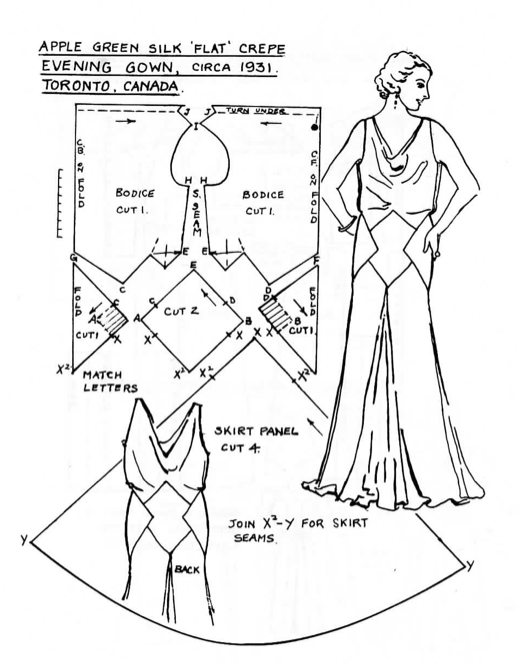
I also referred to a book I found at my local library that had great reference drawings based on actual garments. When you are ‘reverse engineering’ a garment as I often do, it’s handy to have clues of where to start to get the effect that you want.
Because this was such a form fitting bias cut dress, I made 2 mock up versions to fit on the bride to be and work out fitting issues. The final dress was a lightweight satin called Victoria Satin. It draped beautifully and had a nice sheen without being too crass. I’ve always wanted to make a gown like this, but never had an opportunity. I thought that it might be more difficult than it turned out to be. I did lots of research on cutting and sewing techniques for bias cut and for slinky fabrics. The key as with most things that seem intimidating, is patience. I hand basted the entire dress before machine stitching it which gave me lots of control and helped ease the pieces together in a smooth line.
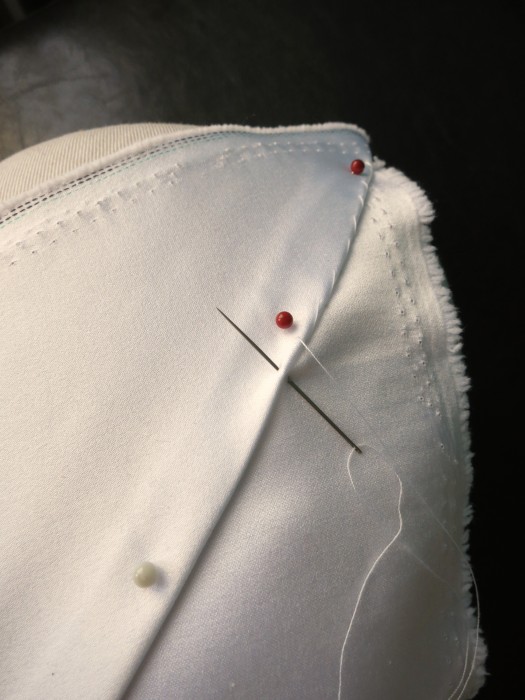
My tailor’s ham also became my good friend when piecing. I pinned the fabric right into it to hold the curved seams and fine points while I basted (nice if you don’t have a third arm available to hold things taught).
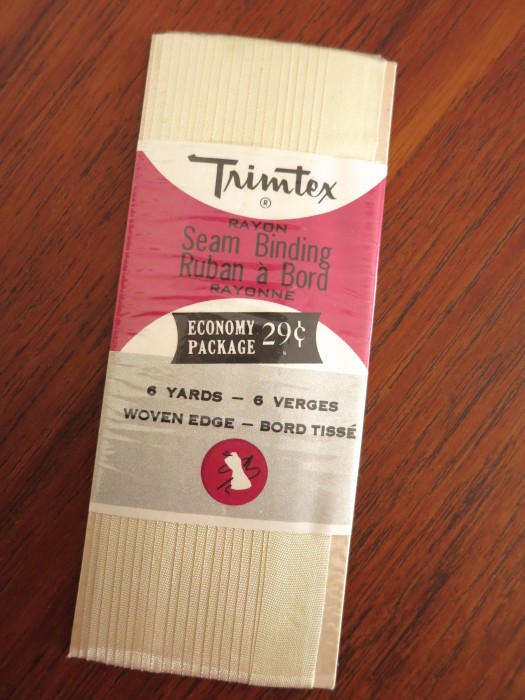
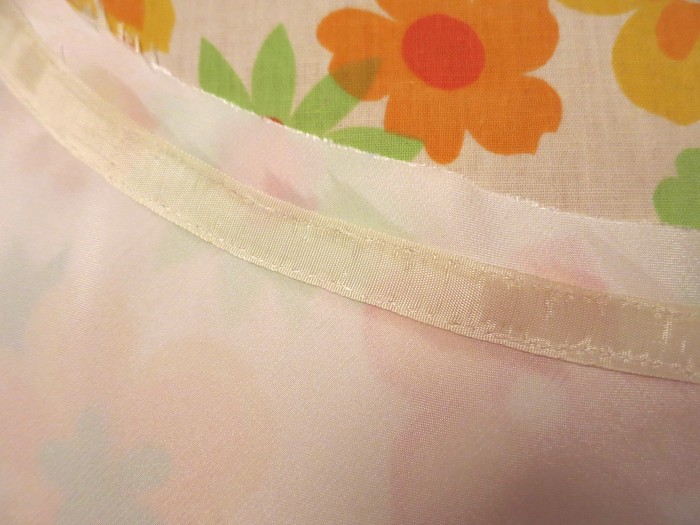
I also discovered the beauty of rayon binding tape.
There’s quite a stash of it in my collection and I’ve previously used it for hems, but it really works like magic to make that low cut back stay put. This is where the patience and hours of tiny tiny stitches pays off. You cut the rayon tape to the finished size of the opening, then pin and pin and pin (a LOT of pins!) to ease the would-be gape into the tape. After that it’s a matter of good lighting, and a small sharp needle to prick stitch it all the way along. A good steam finished it off.
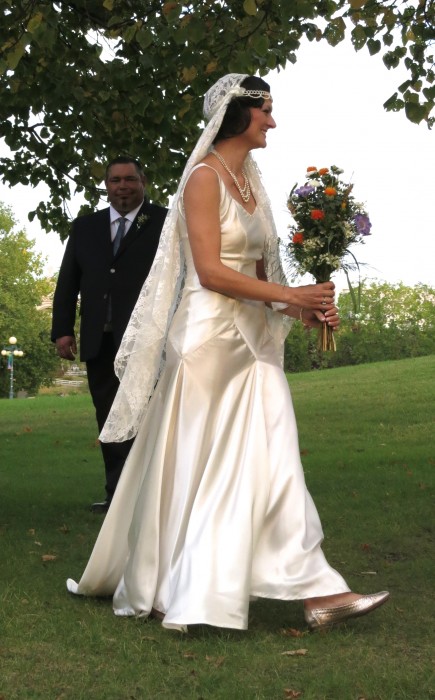
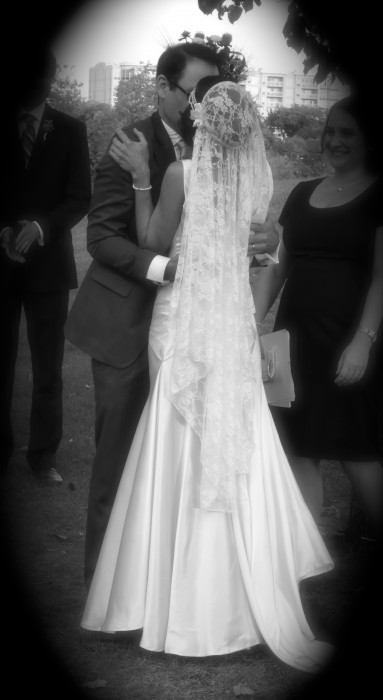
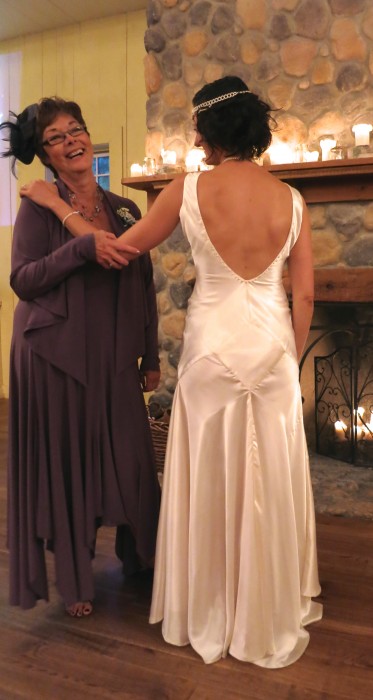
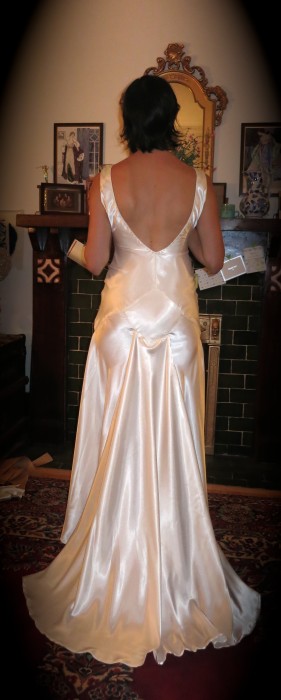
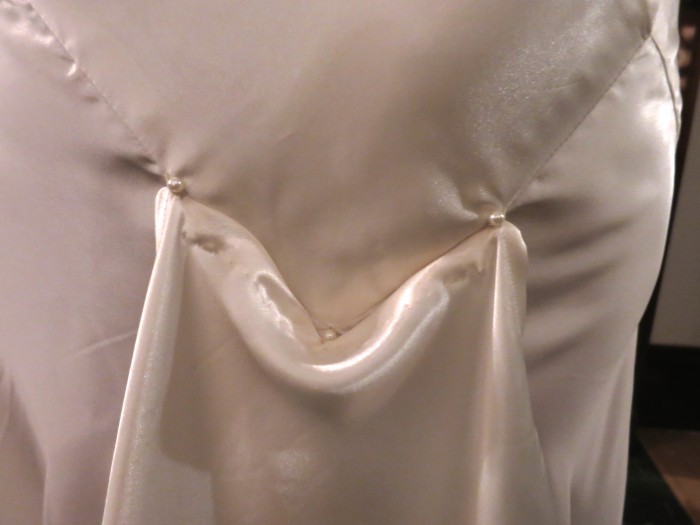
It’s really amazing how much of that bias cut ease I made smooth using this method. Thanks to this, I was able to achieve the look we wanted and without the need for any fastenings to ruin the line of the dress. The bodice is fully lined for stability and modesty. The skirt is made up of 4 quarter circle panels that follow the points created by the bodice and connect to each other below each one. this creates the illusion of diamond shapes below as the fabric drapes over the body.
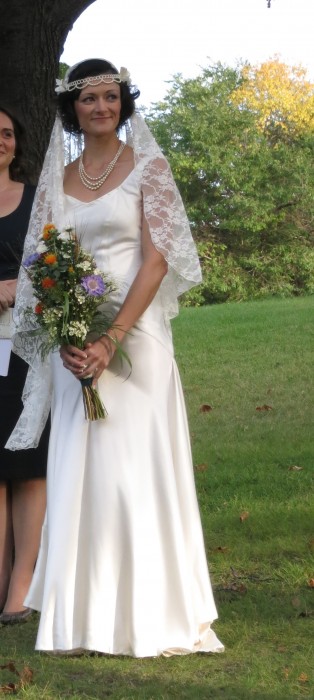
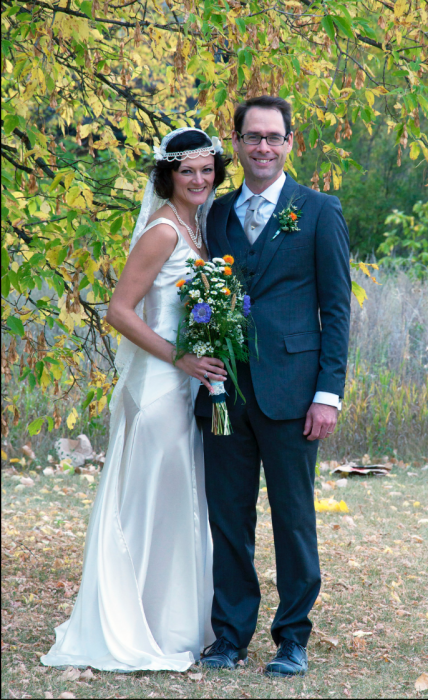
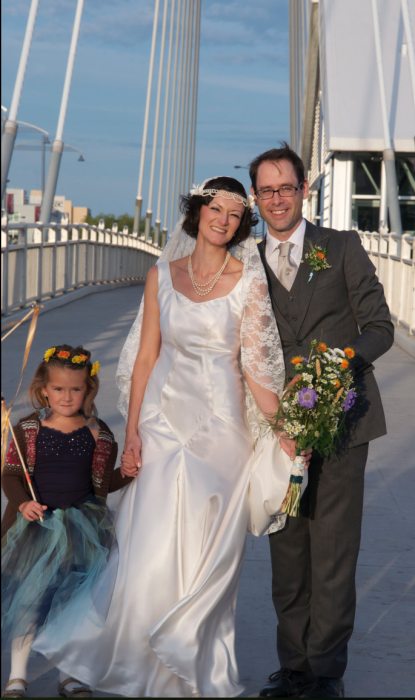
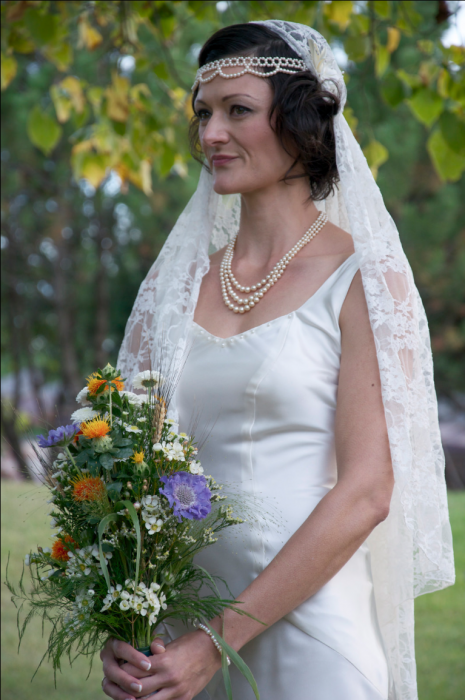
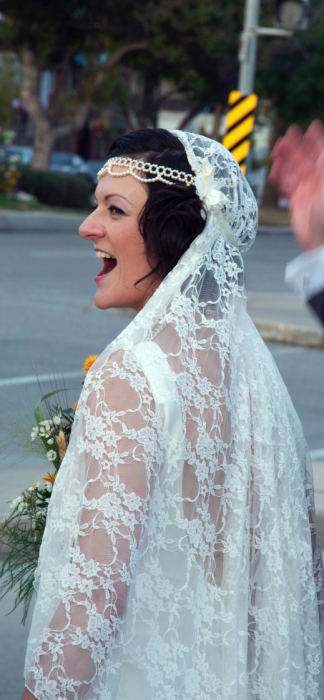
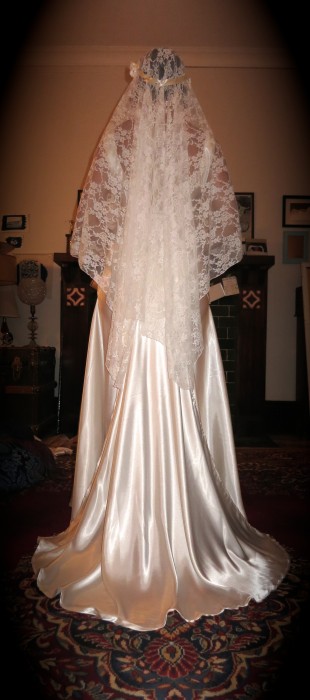
Details: Custom drafted pattern by Heather Lee Bea. Bias cut satin gown with princess seamed bodice, low cut back. Bodice is fully lined. Pearl bead detailing at front and back neckline. Diamond shaped panel over rear. Removable train. Custom lace veil with ribbon bows, silk flowers and pearl headband.
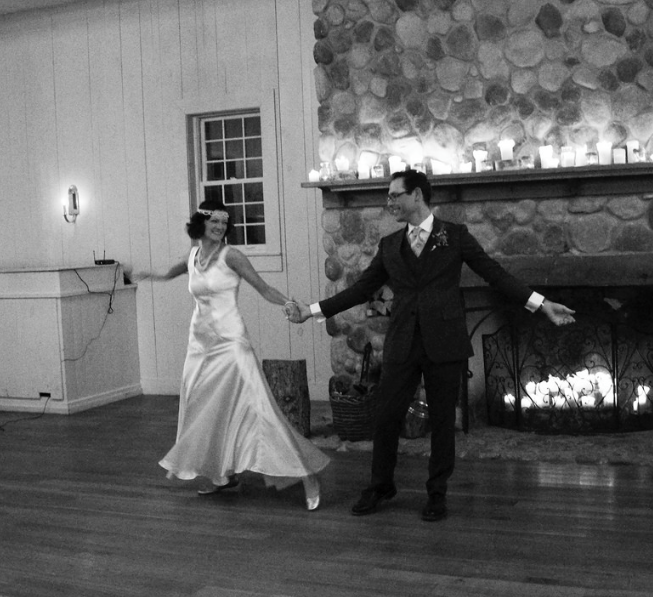
I’m so happy that I got to make this dress! It turned out quite well, and my friend looked lovely in it. Equally important, it was comfortable to wear and dance in all night!
I’ve since made up a couple of reproduction 1930s patterns. I plan to blog about them soon!
~Heather



Pingback: Sylvia Fisher
Pingback: Heather Lee Bea