My nephew recently turned 3, and I made him some things.
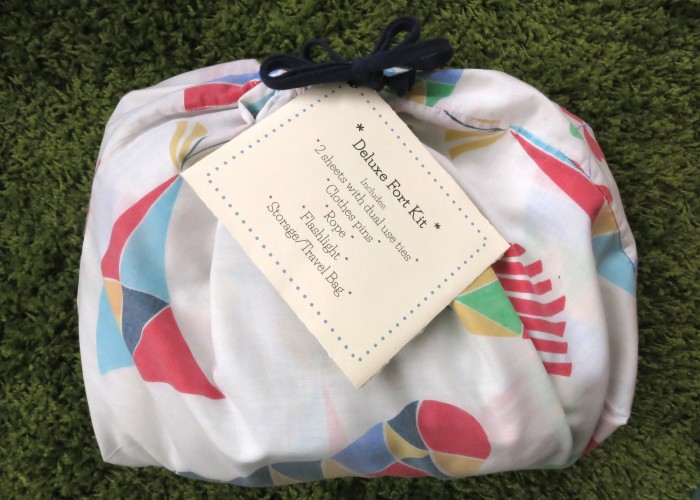
First was a Fort Kit (as seen here on the interweb) using thrift store sheets and a pillowcase modded into a drawstring storage bag.
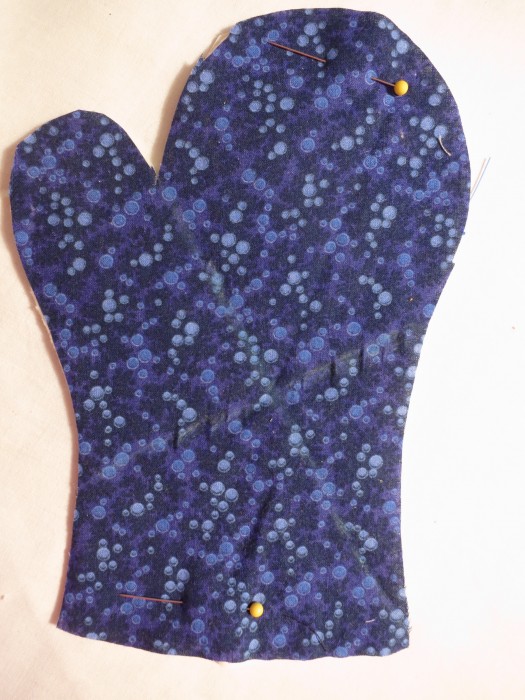
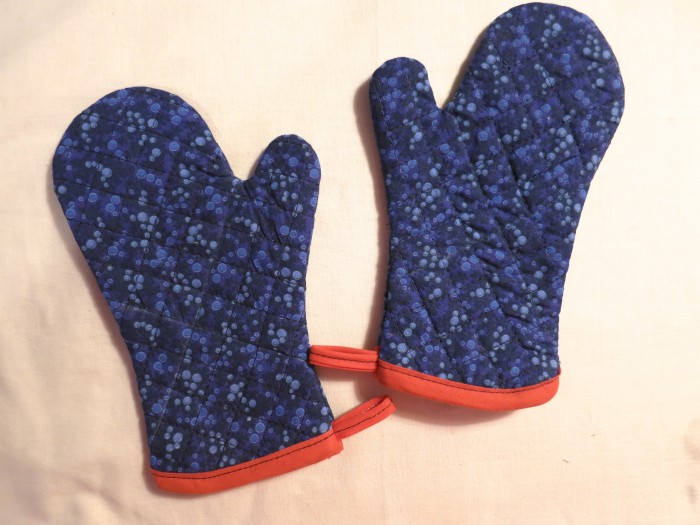
He loves to ‘cook’ in his play kitchen, so I thought it’d be fun to make him some kid sized oven mitts. I made a pattern based on my full sized versions, and cut them out from some left over quilting cotton, thin quilt batting and muslin lining.
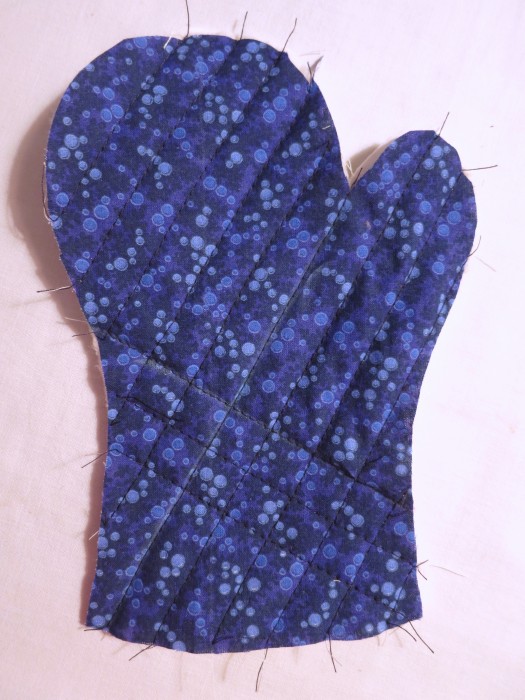
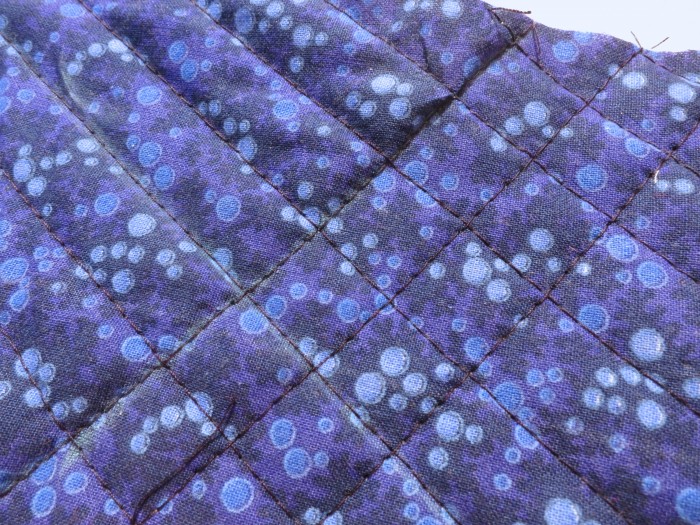
Using 2 intersecting lines as my first stitch lines, I machine quilted the layers for each side. The initial lines were then used as guides for the rest of the quilting lines. I lined up my presser foot about a quarter inch from each one to make a grid pattern.
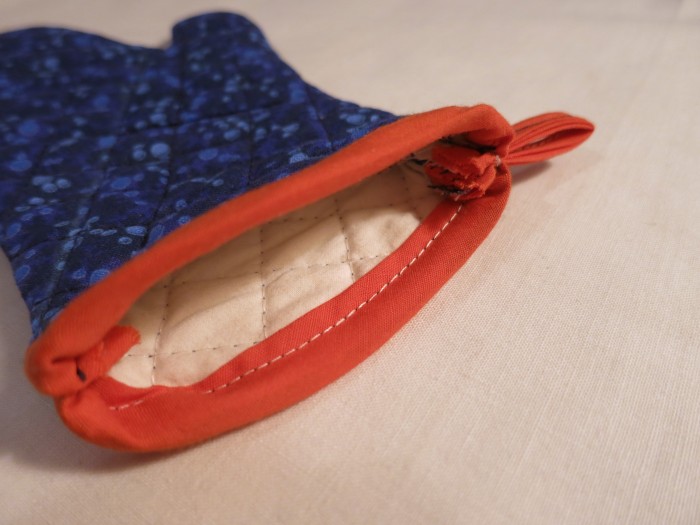
Once the layers were quilted, I added bias tape to the bottom edges. I used a small seam allowance to put each mitt together, then turned right side out making sure to clip/trim the inside corner between thumb and hand. I also added a hanging loop of bias tape into the seam.
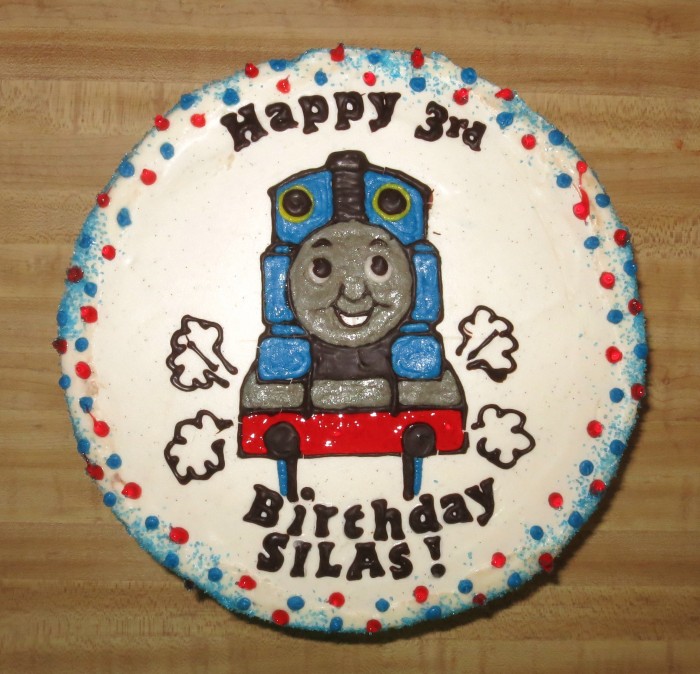
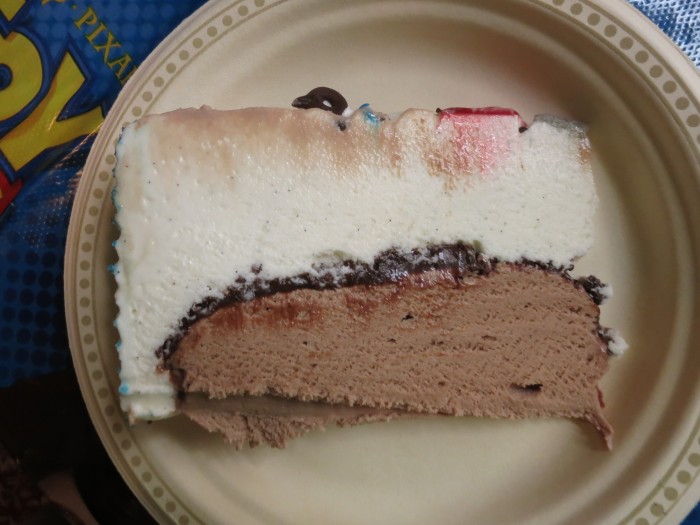
Last but not least, I made my first ice cream cake. In the style of a popular chain restaurant’s cakes, there was a chocolate ice cream layer, fudge sauce and cookie crumble encased in vanilla ice cream. In my version, I used some higher quality ice cream, and the fudge and cookie crumble were homemade and gluten free. My nephew is obsessed with a certain blue tank engine right now, so I made lettering and a chocolate outline on wax paper – tracing printouts underneath. Once they were transferred to the cake, I filled in with icing and icing gel. It turned out pretty well, but I know now that it mostly takes a lot of time. Each layer has to freeze before you can add another, and it helps to have a cold room to work in while decorating. The most challenging part was making a grey colour without black gel food colouring!
My nephew was asked what the cake was made of and he replied that it was ‘made of Thomas’.
Making things for kids can be pretty fun. There is a lot of room for play, and it’s always fun to make mini versions of everyday things!
~Heather
