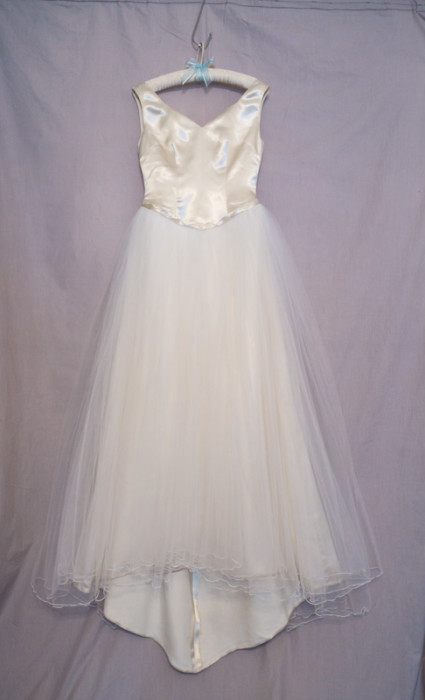
Trusted with the very special task of transforming a family heirloom dress, I proceeded with caution. Once I had cut into it, there was only one chance to get it right. Additionally, this was the fastest turnaround on a custom dress for a client possibly ever and over the xmas holidays! Luckily the bride to be was flexible for fittings and was confident in my ability to pull it off. In the theatre world we are used to creating things on a strict timeline, and it always gets done even if it’s down to the wire.
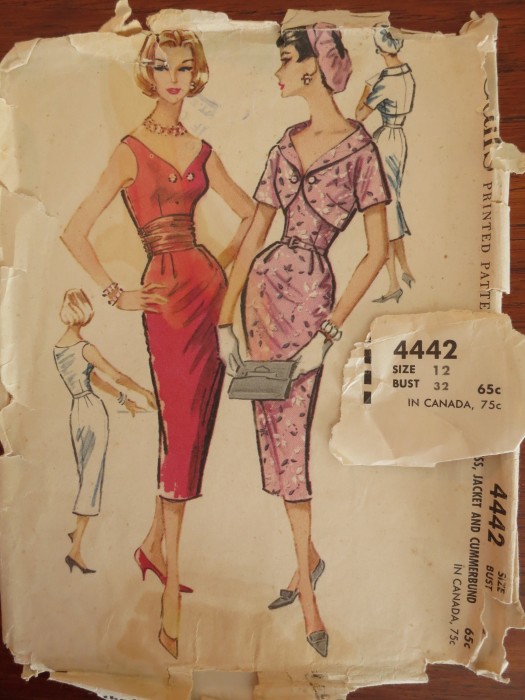
After documenting the original gown, I carefully unpicked the skirt from the bodice and steamed out the gathers and wrinkles as best I could. There are some things you have to accept with the territory when fabric has been in a certain configuration for over 60 years. We weren’t sure if the new bodice would be able to be cut from the dress or the final shape. The bride to be and I both have a love of vintage and wanted to keep the transformed dress in that vein, so I started with a bodice muslin based on this 1958 pattern:
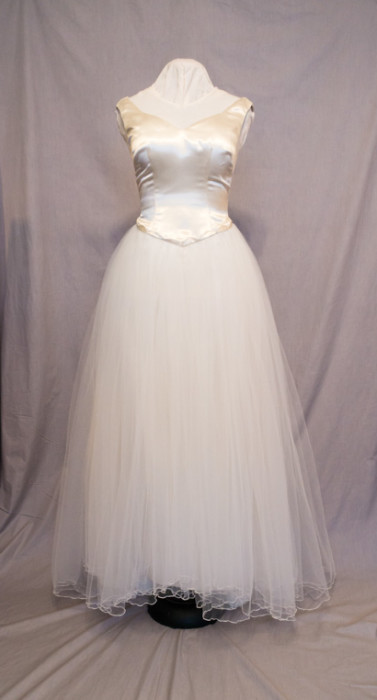
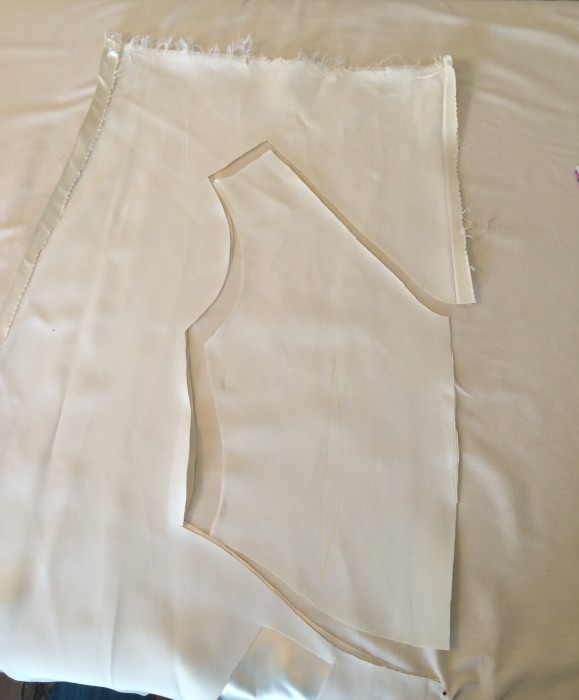
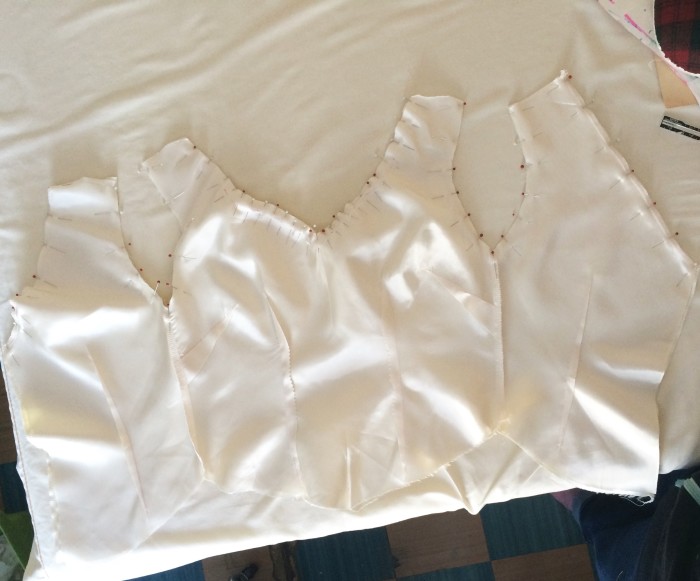
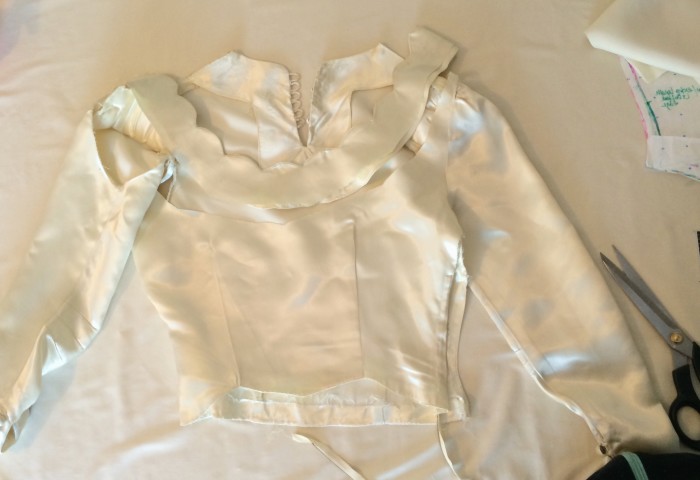
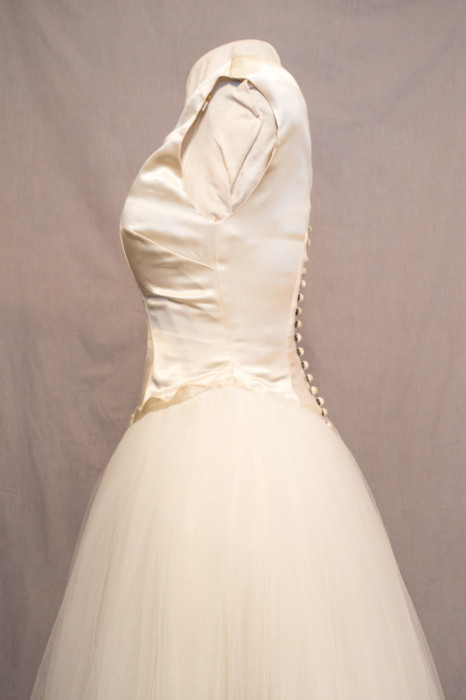
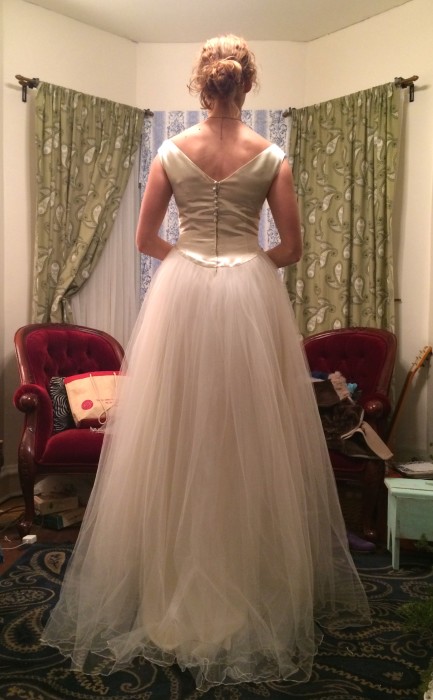
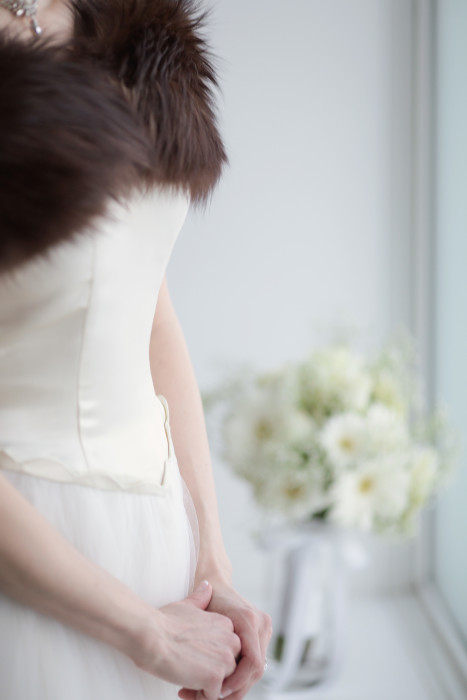
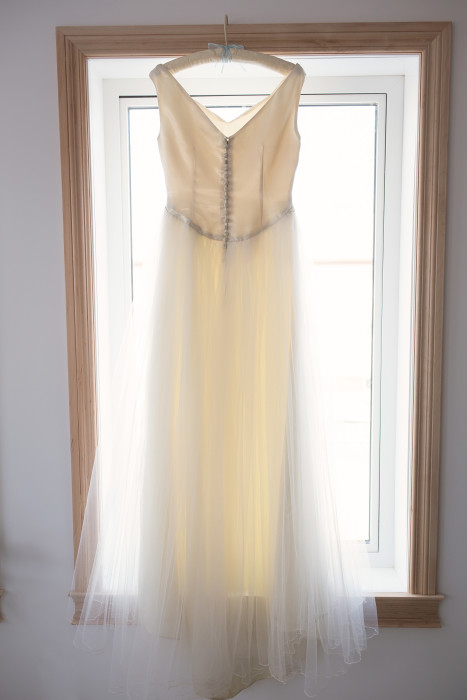
After the first fitting, we determined that the skirt front alone could be the underskirt, with tulle overlay to provide contrast to the satin. A second fitting modified the bodice to a slightly dropped waist and shallow V at centre front. I made up another trial bodice, this time in the lining fabric – just to make sure it was right. In the end, I cut out the bodice from the back skirt panels. I likened it to working with leather, as the train portion was pretty marred from use so I tried to find the best parts of the limited fabric. I happened to have found a vintage lining fabric in an ivory that worked with the style and feel of the dress. The original gown wasn’t lined but would have been worn with a slip.
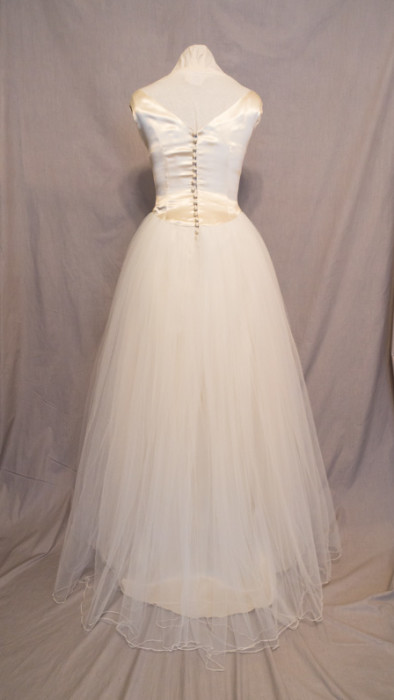
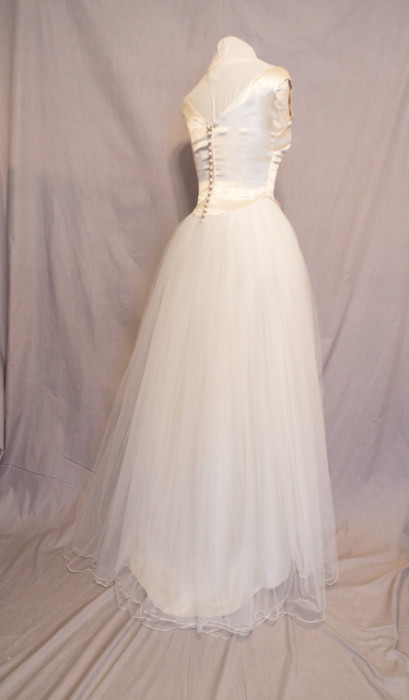
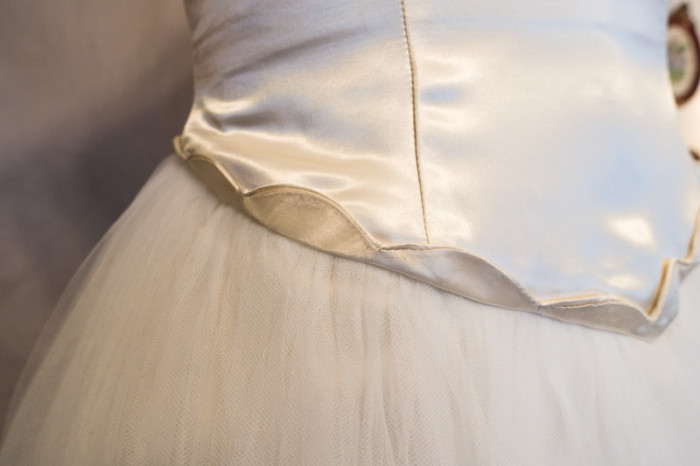
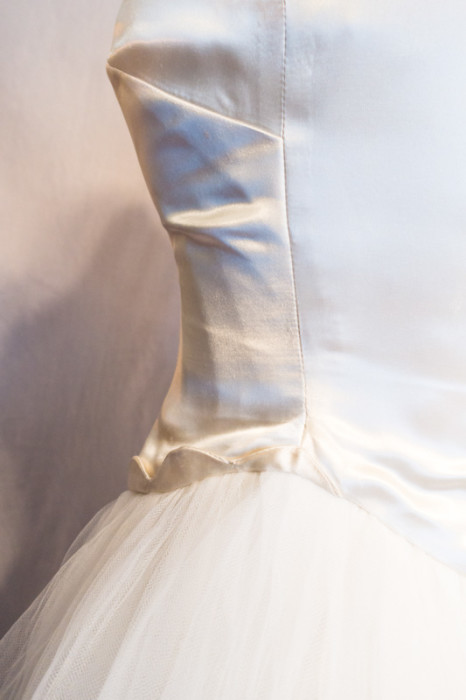
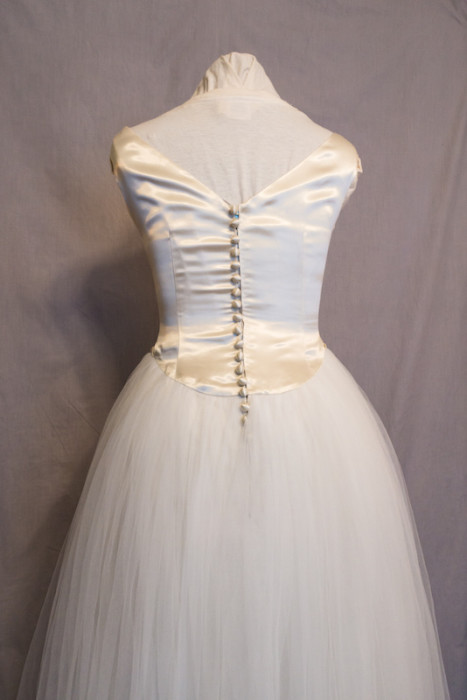
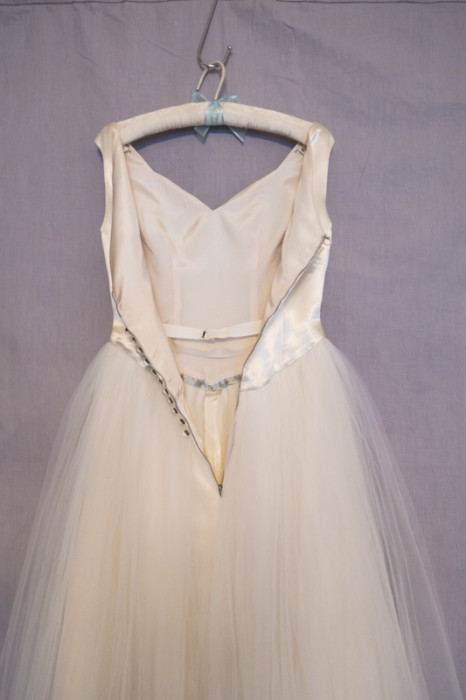
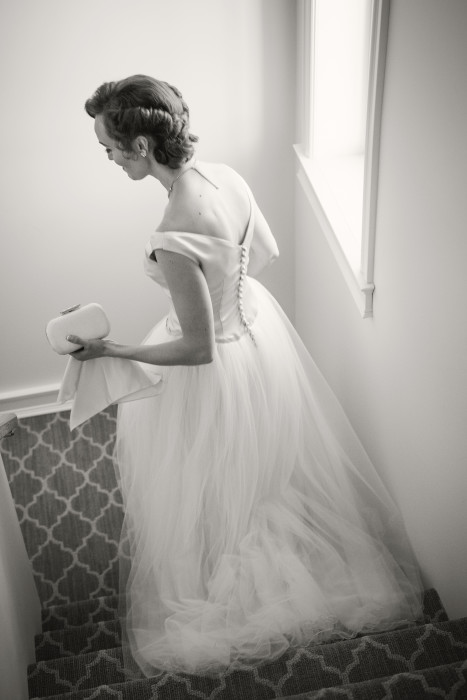
We discussed using the original scalloped neckline as an appliqué on the new gown under the new neckline, but it wasn’t working so we eventually decided to use it in the waist seam instead of the original piping detail. Since it was only used on the front of the old dress, it wouldn’t go all the way around. I decided to taper it into the seam just past the side seam, which worked beautifully. As I am a fashion history nerd, I recall seeing similar details on 1940s and 1950s dresses. The back waist scoops down in a flattering curve. I love this view for some reason. Perhaps because often the emphasis is on the front of a garment, it’s nice when attention paid to other areas. This is especially true on a wedding gown that most likely will be seen from all angles.
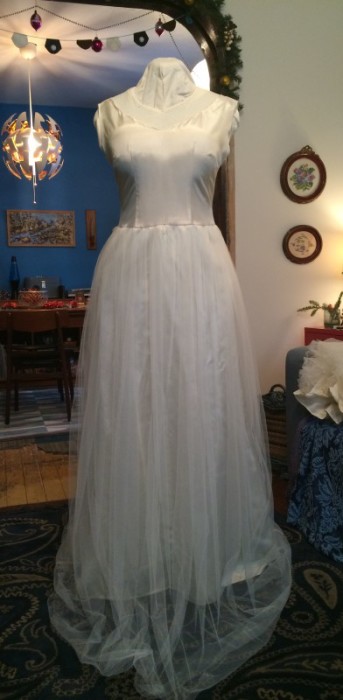
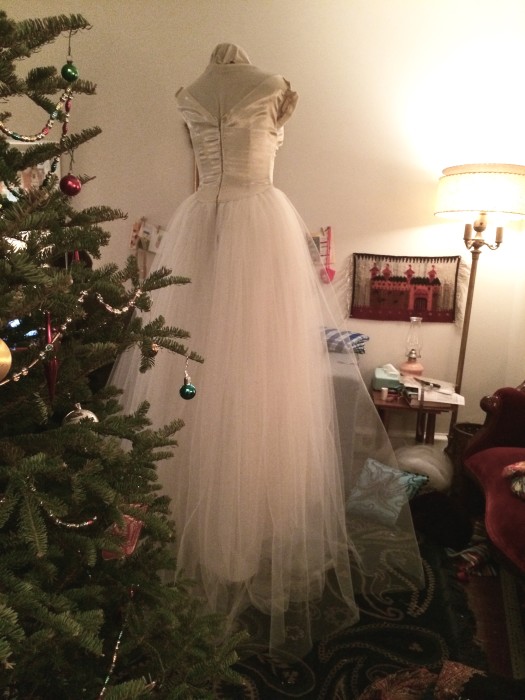
In order to trim the three layers of tulle, I had to jack up my dress form, which was like having a floating bride in my living room…
Due to our very dry winter, there was also a considerable amount of steaming and static-guarding to keep the skirt hanging nicely. I roll hemmed the tulle to give the layers definition and to keep them from getting caught on each other.
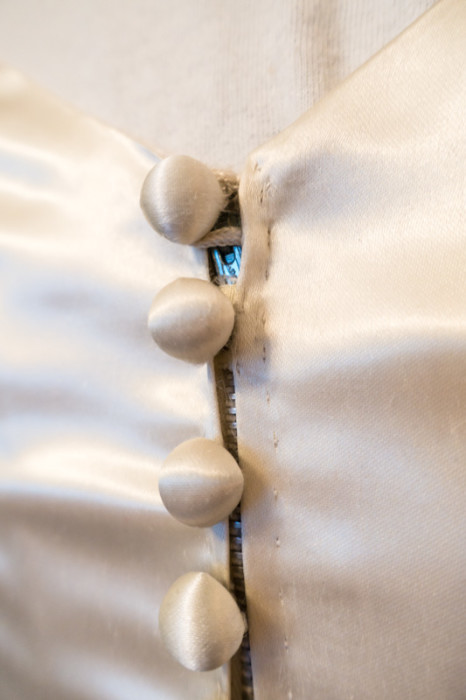
I used a vintage metal zipper from my stash at the centre back. All of the original self covered buttons were re-attatched along the zipper for the illusion of a button closure. To keep any wardrobe malfunctions at bay, I added a hook and eye and a tiny snap at the top of the zipper. The latter also functioned to keep the zipper lap from gaping.
Inside, there is a waist stay at the natural waist (it makes such a difference in close fitting bodices). The strap keepers at the shoulders are made from one of the original train loops. I added a set of pre-made versions below to make sure no errant bra straps escaped.
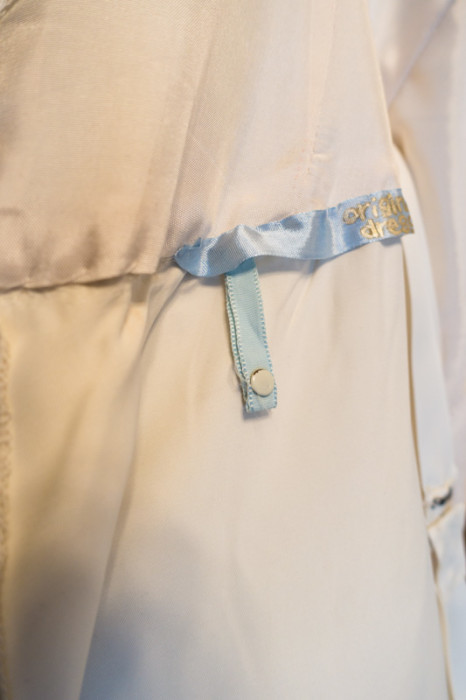
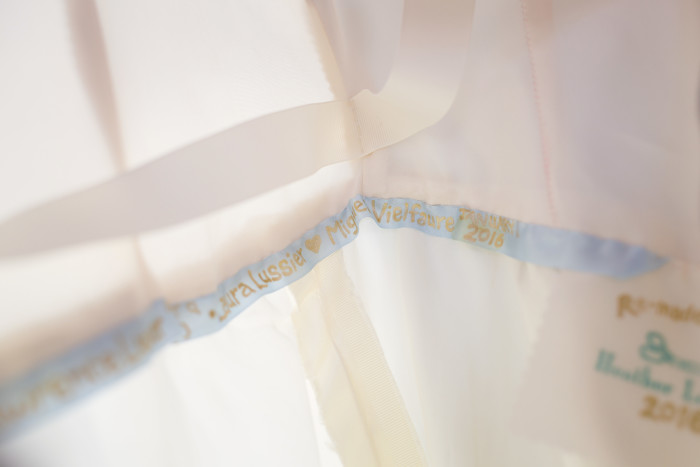
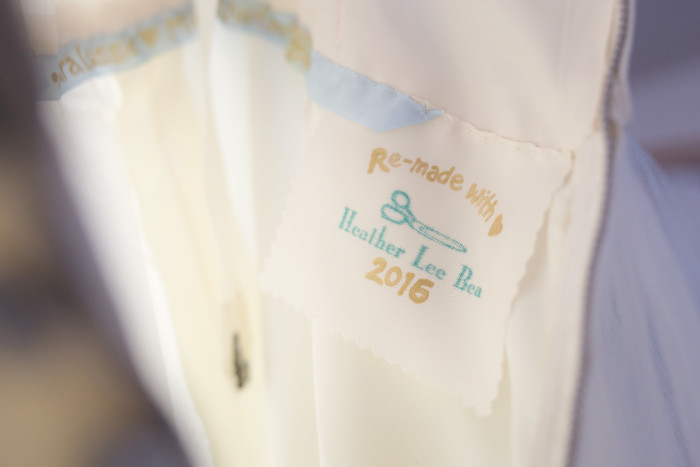
I also decided to include a special surprise for the bride. On vintage rayon seam binding (soft and thin) I hand lettered a brief history of the dress with the name of the original seamstress and the women who were married in it, as well as their grooms and the wedding dates. Luckily I had a willing accomplice to help me get all of the important information! This was pick stitched onto the waist seam inside the dress. I like to add little details only the wearer knows about. On one end I attached the “something blue” from the old dress, and on the other, my tag cut from the lining fabric. I used a rubber stamp with my logo with ink that is fabric safe, and hand dated using gold screen printing ink.
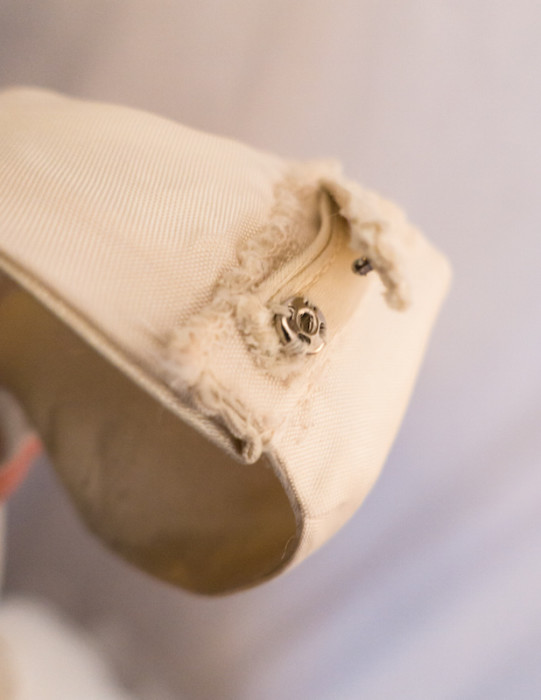
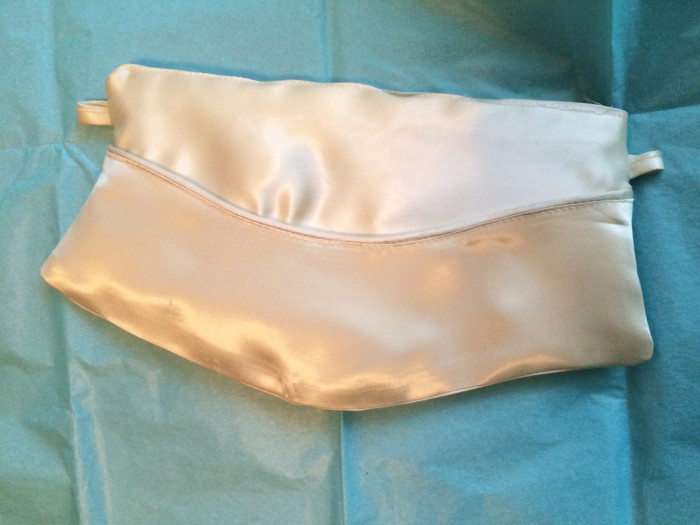
I couldn’t let the piping go to waste, so I made it a feature on a zip clutch, which I gave to the bride as a wedding gift. It also incorporates the original dress zipper! The loops at the side can be used to attach a strap or handle.
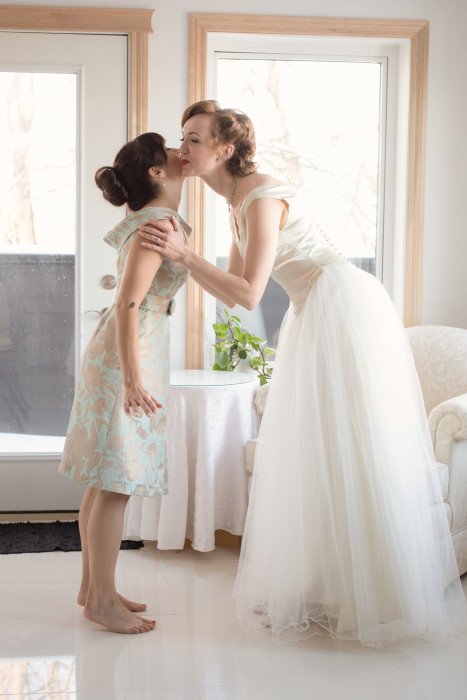
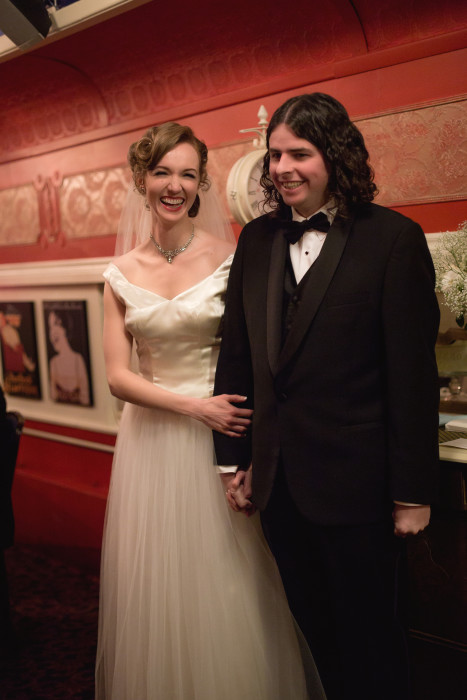
The most important part is of course the lovely bride, who was stunning in the gown as well as being generally awesome. It’s great to work with someone you know, and who is keen to work with you to make something so special. Thanks!
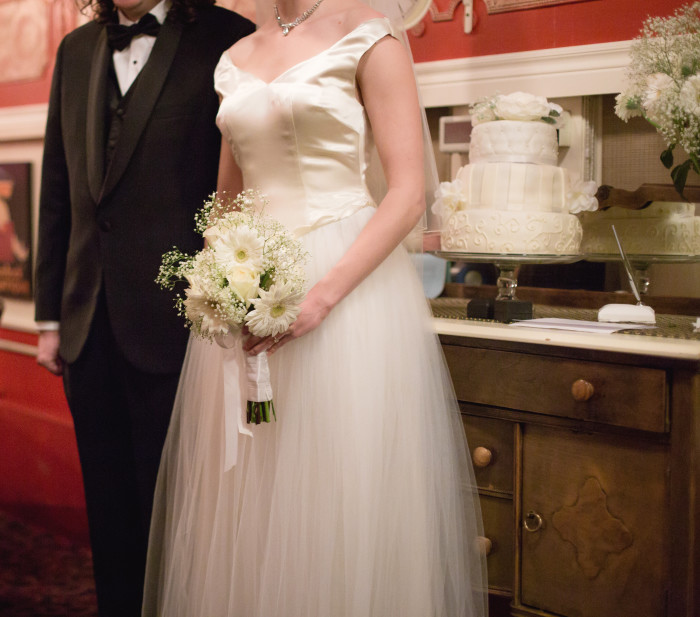
On the big day. (photo by Brittany Rae Photography)
I love embracing the 1940s ‘make do and mend’ philosophy. Hopefully I did the original seamstress proud by making this dress part of a third generation of her family history!
~ Heather



Pingback: Kathryn