Welcome back to operation NewOldHouse. More adventures in restoring our 1897 house. See previous posts for the whole story!
The hardest part of the remaining indoor projects is always going back into renovation chaos after having things in a livable state for a while…
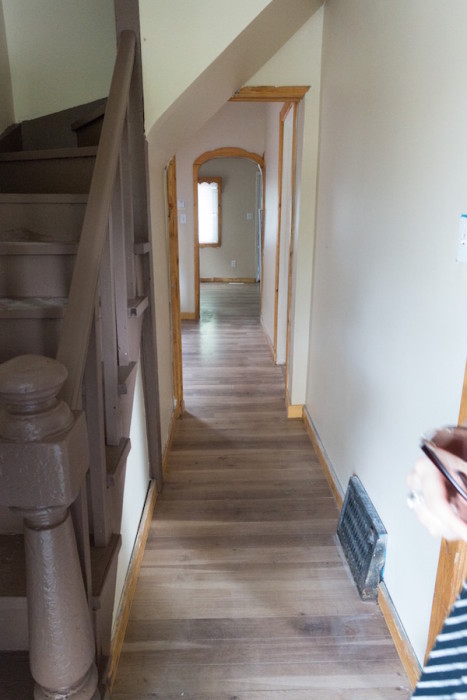
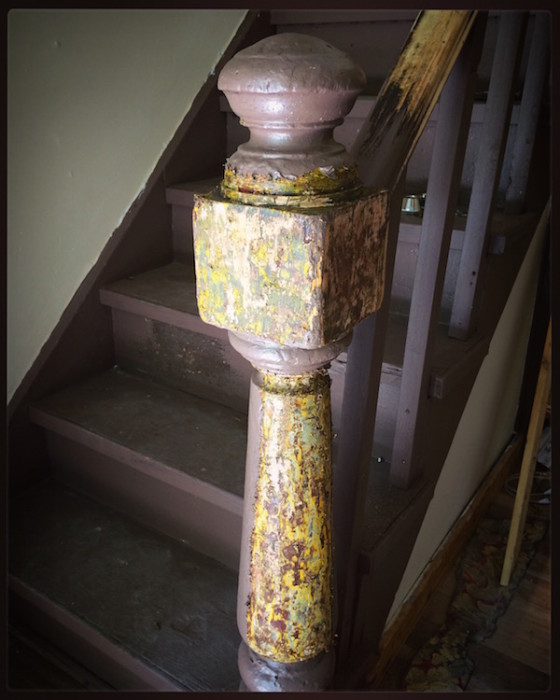
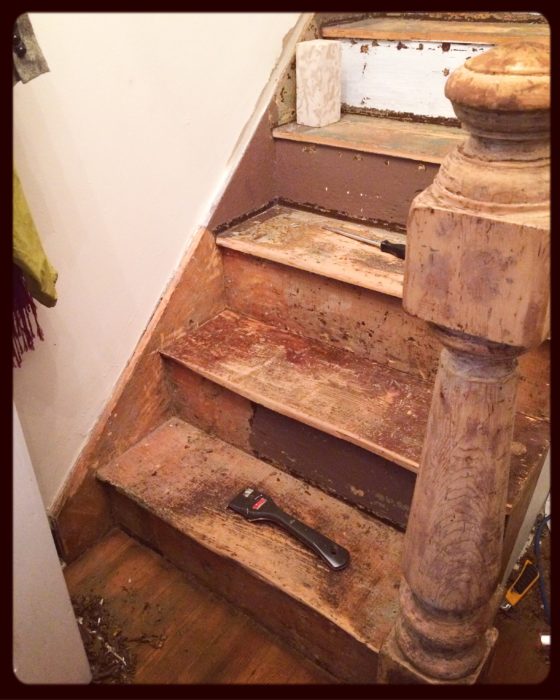
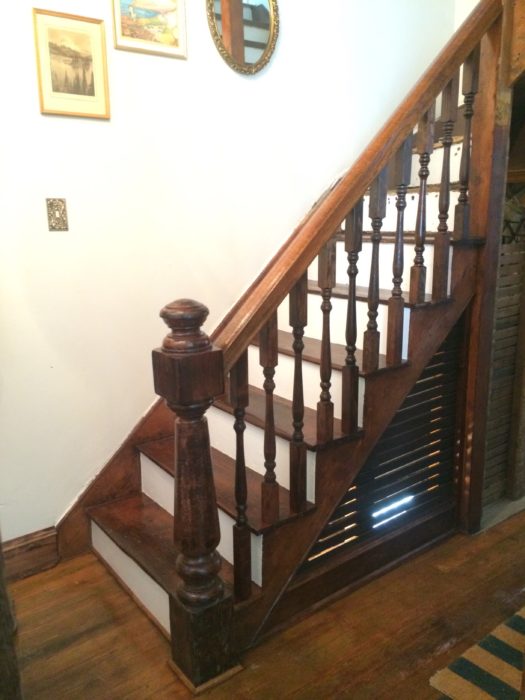
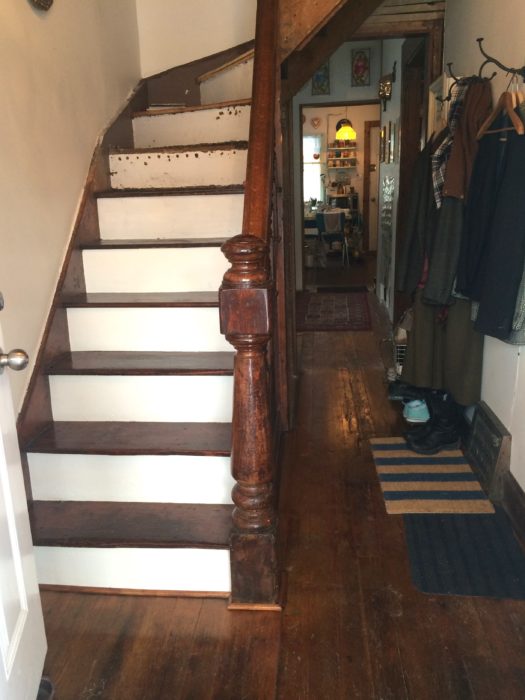
Starting in the fall of 2016, the main stairwell finally got some attention. The banister and balusters were recently added cheap versions (also not up to code), and the stairs were cladded with plywood and (not kosher) nosing. The original newel post was intact but had been painted many many colours and beat up over the years. My efforts to strip it before had been vitoed by more pressing things. Everything was most recently coated in a delightful brown hue.
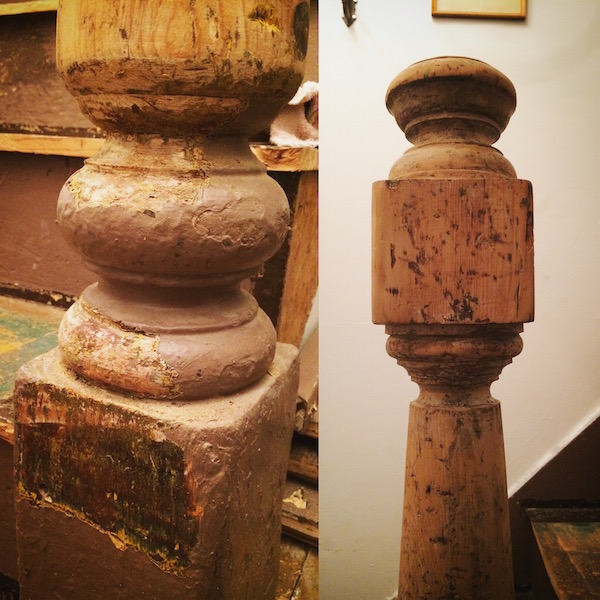
Our poor beat up newel post took forever to get down to the bare wood. There are lots of crevices and curved surfaces that were buried by paint layers. The detail we revealed was pretty amazing! The soft wood had suffered lots of dings and scrapes but after some filling and a few coats of stain there is a major improvement. Restoring what we can of the original elements of the house and preserving them for the future is something that’s important to us and gives a sense of satisfaction. Even in homes we’ve rented we tend to take care of things as much as we can. If everyone didn’t care we wouldn’t have any wonderful historical things!
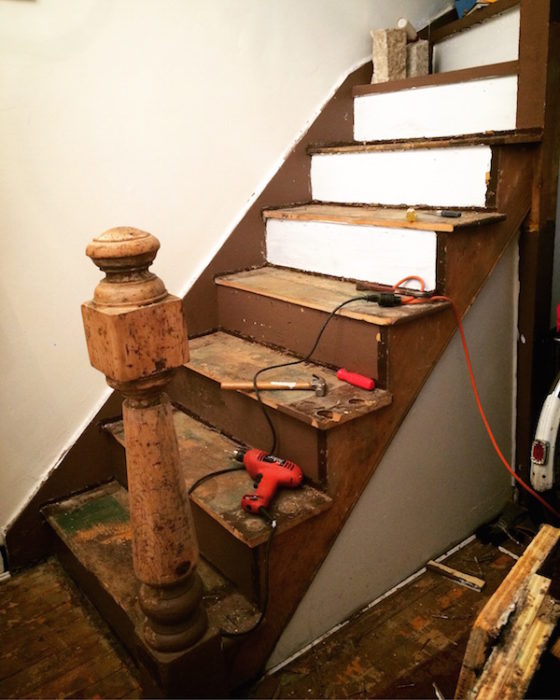
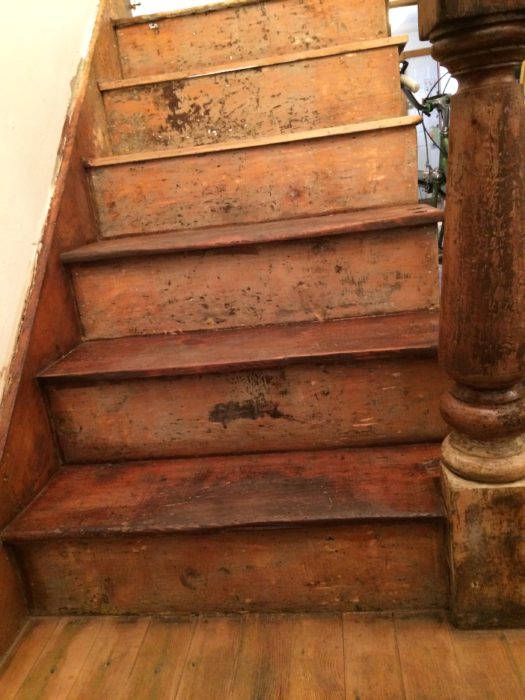
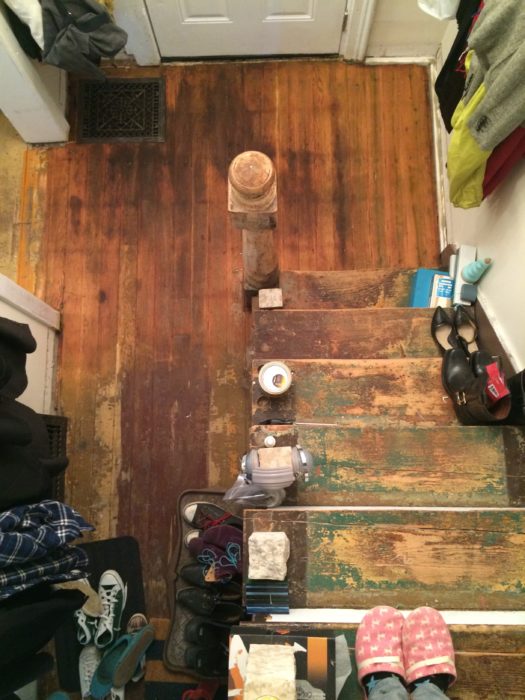
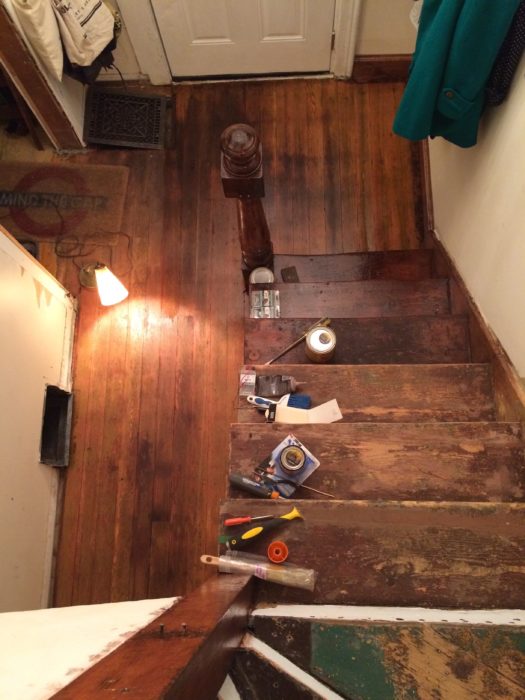
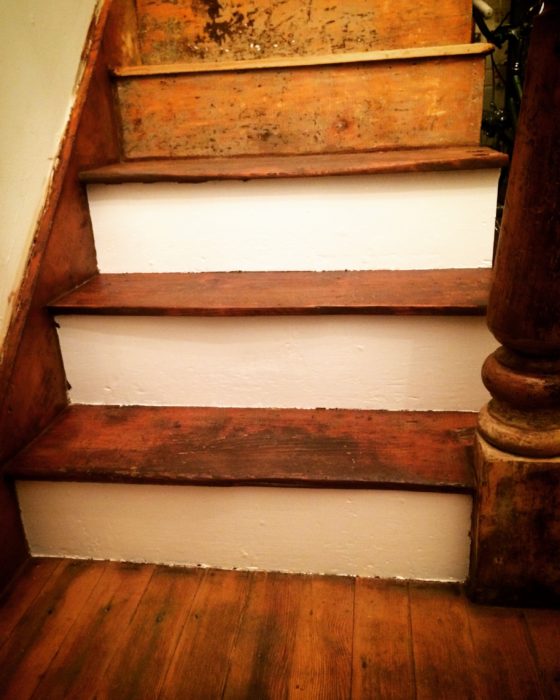
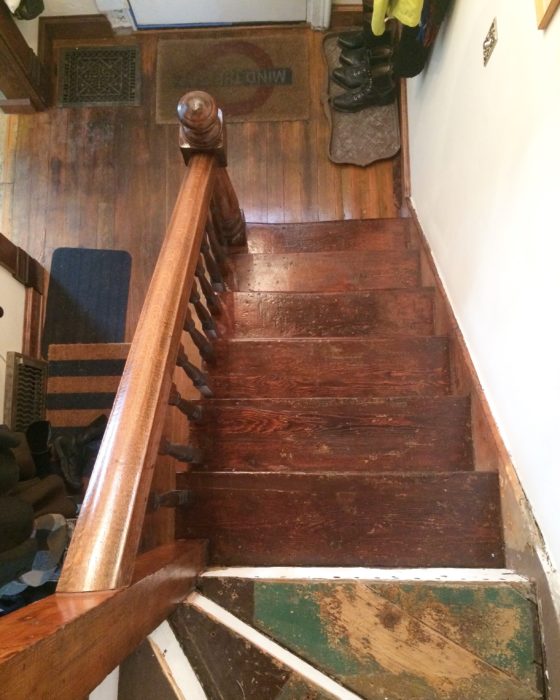
First the bannister was removed as well as the plywood on the stairs to assess the state of them. Besides being 119 years old, most were in ok shape (although well worn). Luckily, the basement stairs are directly underneath so structural reinforcement could be done from below. Using mainly a heat gun and pallate knife, we began a labour intensive/slow going process of removing all the paint, plus lots of tacks and nails where a runner was used in the middle during some eras. After sanding, patching and varnishing they are smooth and ‘like new’, abet with lots of ‘character’.
The risers were painted white to help create some lightness in the small space with all of the dark wood. We still have yet to re-do the upper stairs, so you see the progression as you go up!
The ‘new’ banister came from another friend’s c. 1910s home when they were renovating. It too was stripped and re-finshed to match. New balusters (in a classic shape) were sourced on kijiji for a good deal. Below the stairs, the decorative wooden stringer was also stripped and re-finished. Removing the drywall below that exposed the 1897 lath. Leif decided to make it a design feature as another nod to the house’s history. Lighting behind it creates a pleasing effect. It made me so happy to restore this small part of the house to what might have been. The best compliments we receive are when people assume it’s all original!
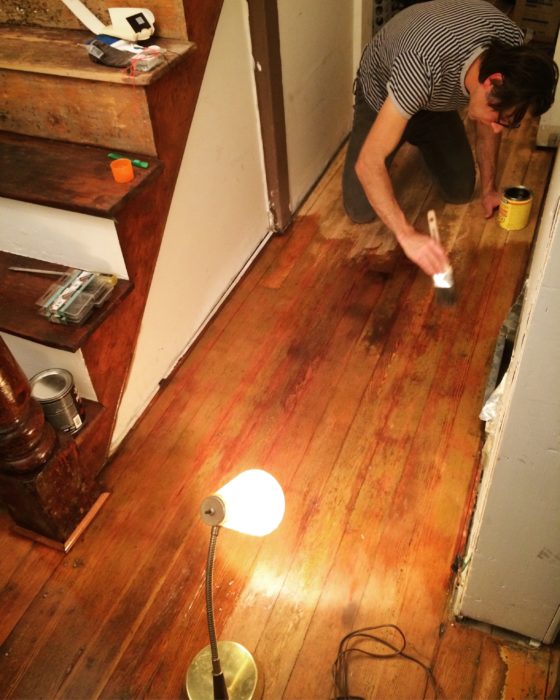
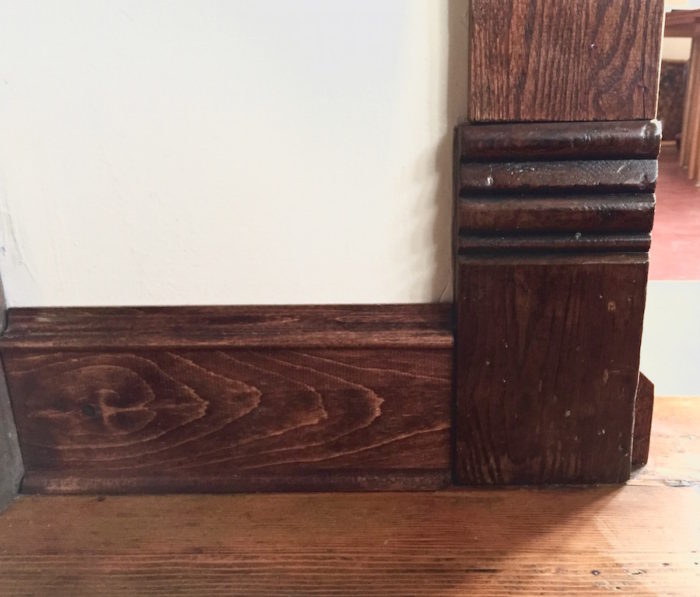
The rest of the front hall as also had some TLC. The exposed 1930s painted floor was in rougher shape in this high traffic area, so it was sanded down and sealed with verathane. It will never look brand new and that’s ok with us. We just want to preserve it (and not get any splinters)! Based on the existing older baseboards in the living room, we approximated new ones for the hall. The Victorian style used much taller versions than modern tastes so a combination of stock lumber, trim and quarter-round are combined to give the effect.
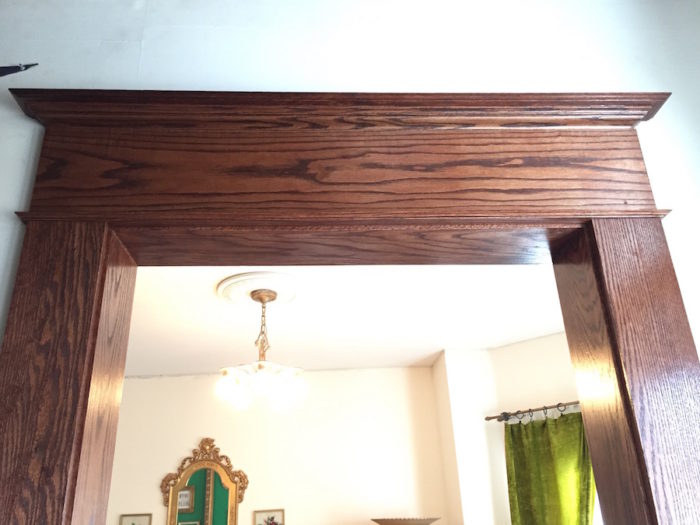
Leif also re-built the doorway to the living room to look more Victorian. Mostly new oak, with found antique plinths.
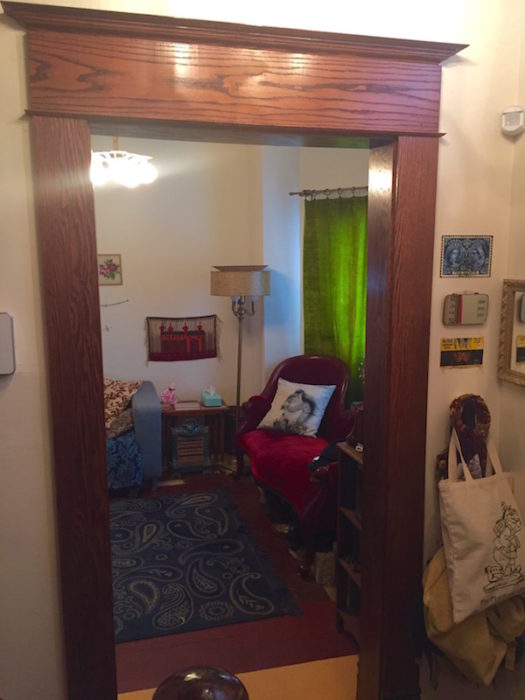
New Oak Doorframe in the Victorian style. Due to the smaller space, it’s quite difficult to get a shot of the whole thing!
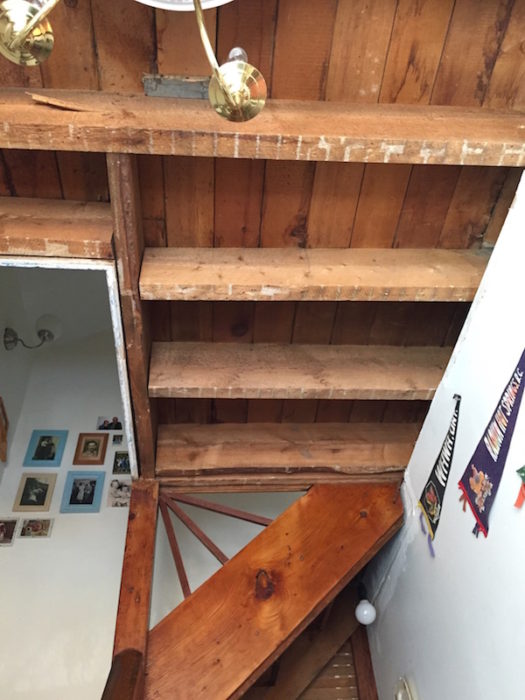
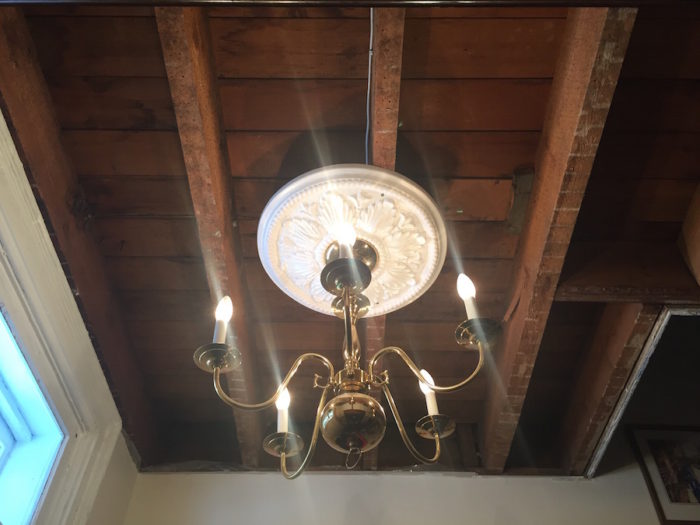
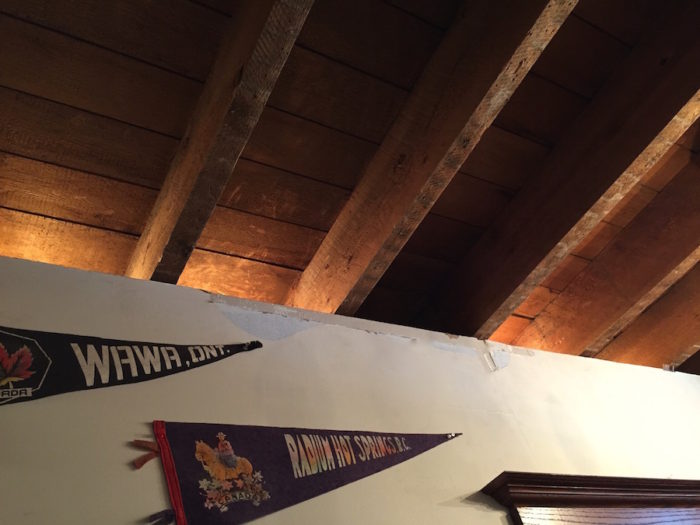
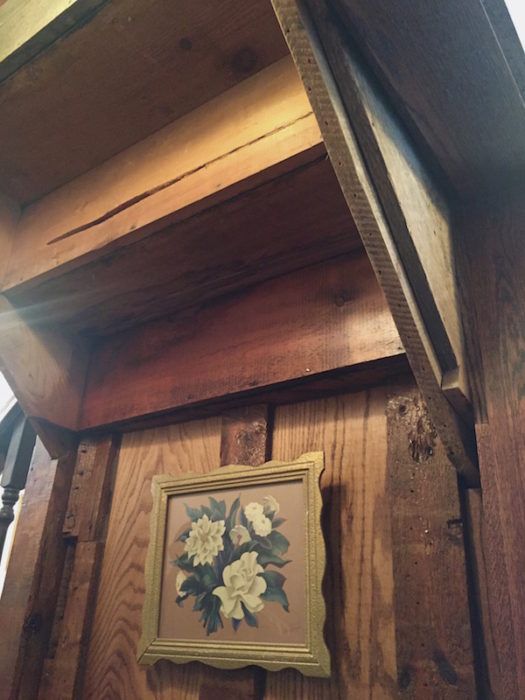
Above the front hall, I came home one day to a more open concept. Drywall on the ceiling was removed to expose the 1897 beams. Decorative openwork was added above the upper stairs that mimics the pattern of lath found under the plaster.
The entranceway is lit by a modern chandelier, and now connects to a floating faux plaster medallion. In the future, we will clear coat the beams as we have done with the stringer to finish the look, and protect to antique wood.
Another cheeky touch is hidden lighting between the beams which glows into the hall when the overhead lighting is switched on. All of it is also on a dimmer so the light can be varied depending on the mood we want. The top edge of the wall will be repaired and trimmed at some point.
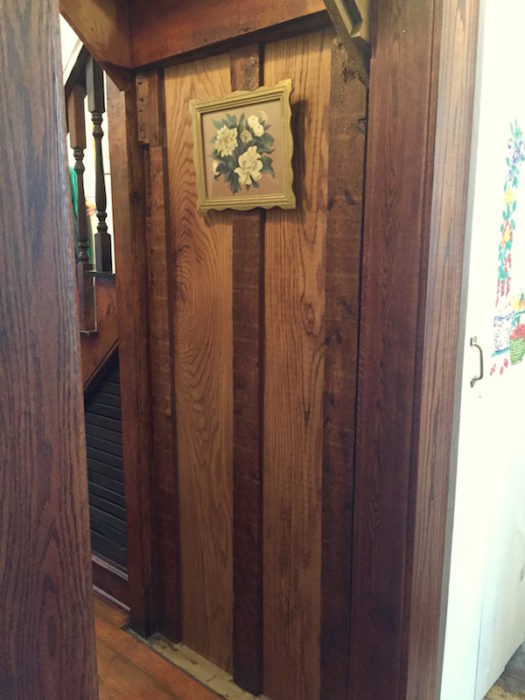
The drywall under the upper run of stairs was also removed. This allowed access to repair things and clean out many decades of debris.
On the vertical section solid oak panels were installed between the studs. Exposed vintage wood has been sanded and stained to make a smooth and pleasing finish.
Amazingly, this chapter of Operation: New Old House only brings us up to the winter of 2017 – a full year ago. I’ve been told that people love these posts, and will endeavour to bring the story up to date. More recent projects can be seen on my instagram feed, but hopefully there will be more in depth info here soon!
